2026 Cedar Shake Roof Installation (Step-by-Step)
 8/11/2023
 6 Min Read
Cedar shake roof installation is a time-tested process that blends old-world craftsmanship with modern roofing techniques. Whether you’re building a custom home or replacing an aging roof in 2026, understanding how a cedar shake roof is properly installed helps ensure you’re making the right investment. A quality installation doesn’t just improve your home’s appearance—it’s the key to long-term performance and weather protection.
- Proper installation extends the lifespan of your cedar shake roof
- Knowing the process helps homeowners make informed contractor decisions
- Cedar shake roofs add natural beauty and home value
In this guide, we’ll walk you through the step-by-step process that the Shake Guys follow for professional cedar shake roof installation.

Why Choose Cedar Shake Roofing?
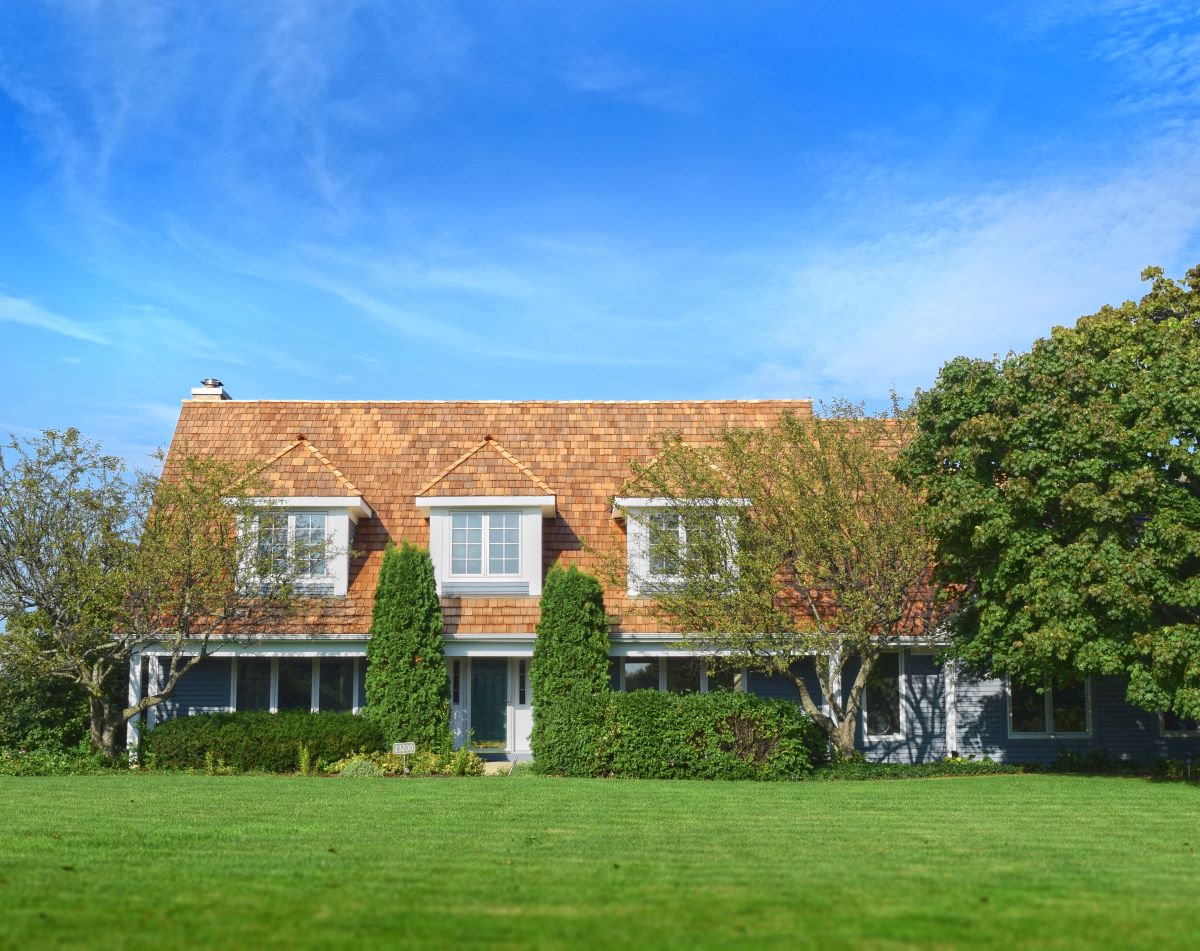
Cedar shake roofs are a favorite among homeowners who want natural materials, classic charm, and reliable performance. Cedar offers a unique rustic look that blends beautifully with luxury homes, lakefront properties, and historic residences. But this roofing material is about more than just aesthetics.
Cedar is naturally resistant to insects, UV damage, and harsh weather conditions. When installed correctly and maintained with routine preservation, cedar shake roofs can last 30 to 50 years or more. For homeowners in Barrington and surrounding areas, cedar also offers excellent insulation that helps manage year-round energy costs.
Preparing for Cedar Shake Roof Installation
Before the first shake is nailed in place, there are several essential steps to prepare the roof deck and ensure the foundation is solid. A successful cedar shake installation starts well before any materials are visible.
Roof Inspection and Planning
Every job begins with a detailed inspection of the existing structure. This includes evaluating the condition of the roof deck, rafters, ventilation, and any signs of previous water damage. For homeowners in Barrington and surrounding areas, where seasonal weather varies widely, we pay close attention to moisture-prone areas like valleys and eaves.
Tear-Off and Cleanup
If there’s an existing roof, it must be carefully removed. Cedar shake roofs should never be installed over old shingles or decaying decking. We remove all old materials down to the deck and dispose of them responsibly. This allows us to work with a clean slate and identify any hidden issues beneath the surface.
Deck Repair or Replacement
If any part of the roof deck is damaged, soft, or improperly pitched, we replace it with high-quality sheathing materials. This structural layer is crucial because cedar shake must be installed over a breathable and stable base to function correctly.
Cedar Shake Roof Installation: Step-by-Step
Once the preparation work is complete, the installation process begins. The following steps reflect how the Shake Guys approach each project using best practices, premium materials, and precision techniques.
1. Install Ventilation and Eave Protection
The first step is to make sure your attic and roof system have proper ventilation. Ridge vents, soffit vents, and other components are installed to allow airflow and prevent moisture buildup. We also install eave protection, such as ice and water shield, to protect against winter freeze cycles.
2. Apply Underlayment
Cedar shake roofing requires a breathable underlayment rather than standard synthetic felt. We use materials that allow trapped moisture to escape while still providing protection beneath the shakes. This step is especially important in humid or snow-heavy regions like Barrington and surrounding areas.
3. Lay Starter Course
The starter course is the first row of shakes, and it sets the tone for the rest of the roof. These pieces are installed carefully along the eaves to provide a clean line and solid base for the layers that follow. Precision here helps prevent misalignment and gaps later in the process.
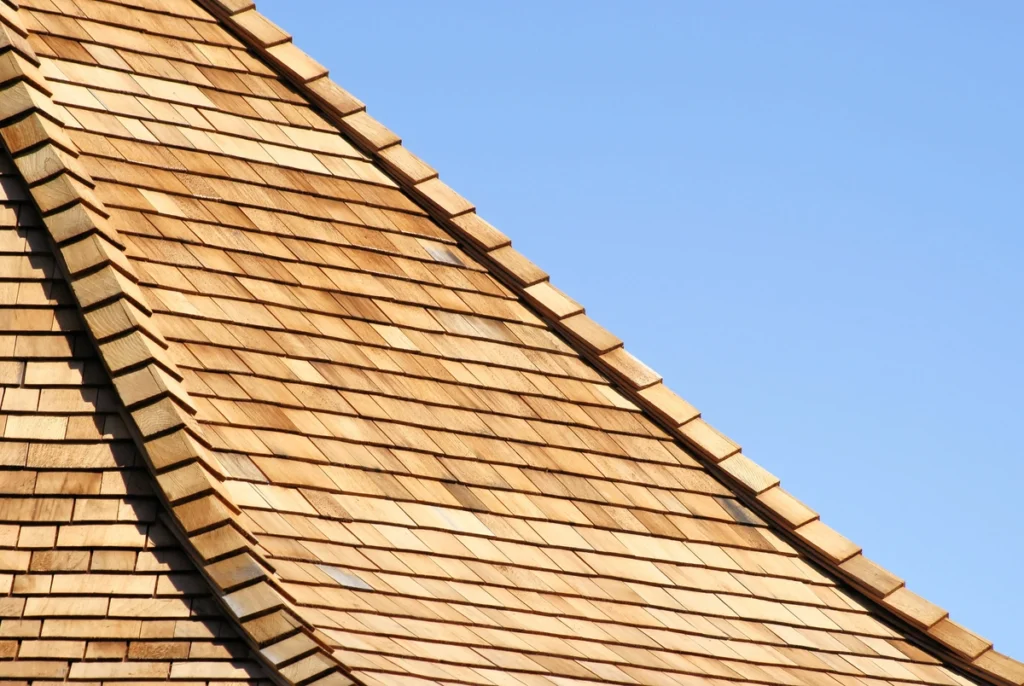
4. Begin Shake Installation in Courses
The main installation is done in horizontal courses, with each shake staggered to avoid vertical seams. We use stainless steel or hot-dipped galvanized nails to prevent corrosion and double-nail each shake for strength. Cedar naturally expands and contracts, so proper spacing is maintained throughout.
5. Offset Shakes for Water Shedding
Every course is offset both horizontally and vertically to encourage proper drainage. We also make sure shakes are installed with the grain facing outward, which helps shed water more efficiently and preserves the structure of the wood.
6. Add Hip and Ridge Caps
Once the field of the roof is complete, hip and ridge caps are added to seal off corners and peaks. These specialized pieces are layered to match the aesthetic of the main roof while providing crucial protection from wind and rain at vulnerable seams.
7. Install Flashing and Final Seals
Copper or stainless-steel flashing is installed in all valleys, step edges, and around protrusions like chimneys or skylights. These metal components are essential for leak prevention and long-term durability. All flashings are tied into the shake pattern to maintain a seamless appearance.
8. Final Inspection and Cleanup
The last step is a detailed inspection of the entire roof system. We check for proper nailing, uniform spacing, ventilation functionality, and material integrity. Once approved, we clean up all work areas and walk the homeowner through the completed project.
Common Questions About Cedar Shake Installation
Understanding the process also means knowing what to expect. Here are a few frequently asked questions from homeowners considering a cedar roof.
How Long Does Installation Take?
Most cedar shake roof installations take 5 to 10 days, depending on roof size, pitch, weather conditions, and whether a tear-off is required. At the Shake Guys, we provide a clear timeline before the project begins and keep you informed throughout.
Do You Treat the Shakes Before or After Installation?
Our cedar shakes are typically pre-treated for fire resistance, mold prevention, and moisture control before installation. After the roof is complete, we may recommend preservation treatments every few years to maintain peak performance and appearance.
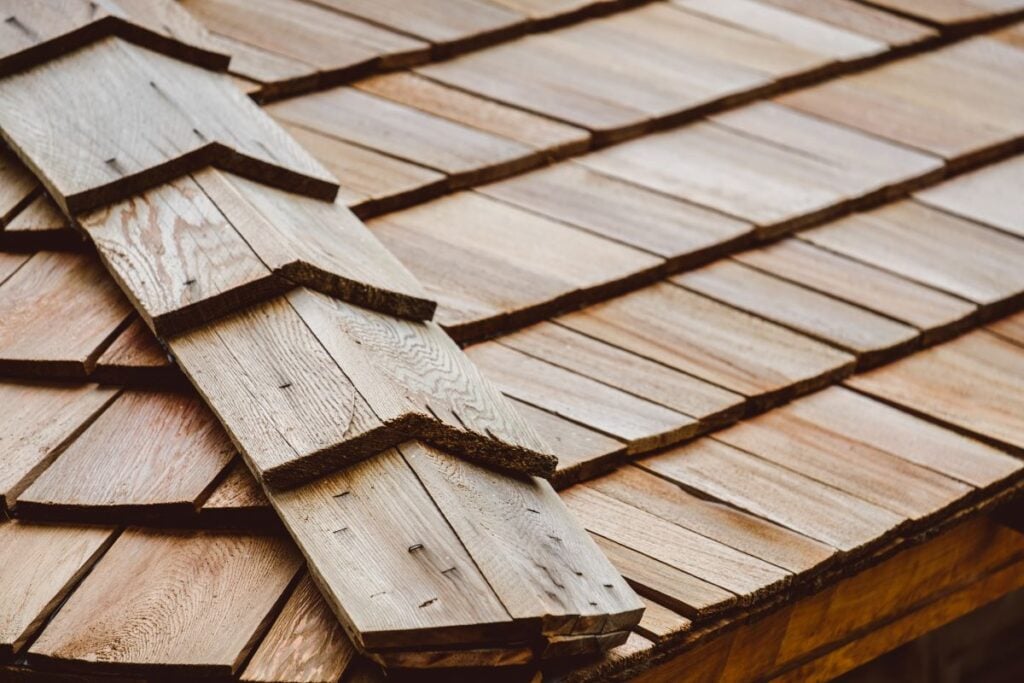
What’s the Difference Between Shakes and Shingles?
Shakes are hand-split or sawed to create a thicker, more textured look than shingles. They offer better water shedding and a more rustic appearance. Shingles are more uniform and flat. Shakes are preferred by many luxury homeowners in Barrington and surrounding areas for their aesthetic and performance advantages.
Why the Shake Guys Are the Cedar Roofing Experts
Installing a cedar shake roof is part art, part science—and the Shake Guys are specialists in both. Our entire team is trained in the unique requirements of cedar materials, and we only work with premium-grade products designed to handle Midwest weather conditions.
We serve discerning homeowners in Barrington and surrounding areas who want a roof that enhances both beauty and performance. From structural integrity to curb appeal, we take pride in delivering unmatched results on every cedar shake roof installation.
Ready for a New Cedar Shake Roof? Contact the Shake Guys
If you’re planning a 2026 cedar shake roof installation, trust the Shake Guys to handle every detail with precision and care. We understand the climate, architecture, and expectations of homeowners in Barrington and surrounding areas—and we’re ready to help you make the most of your investment.
Contact Shake Guys today to schedule a free cedar roof consultation. Our team will inspect your current system, walk you through your options, and provide a custom installation plan that adds value and lasting protection to your home.


Schedule a Free Inspection & Consultation
We look forward to providing you with premium customer service & high-quality results.