
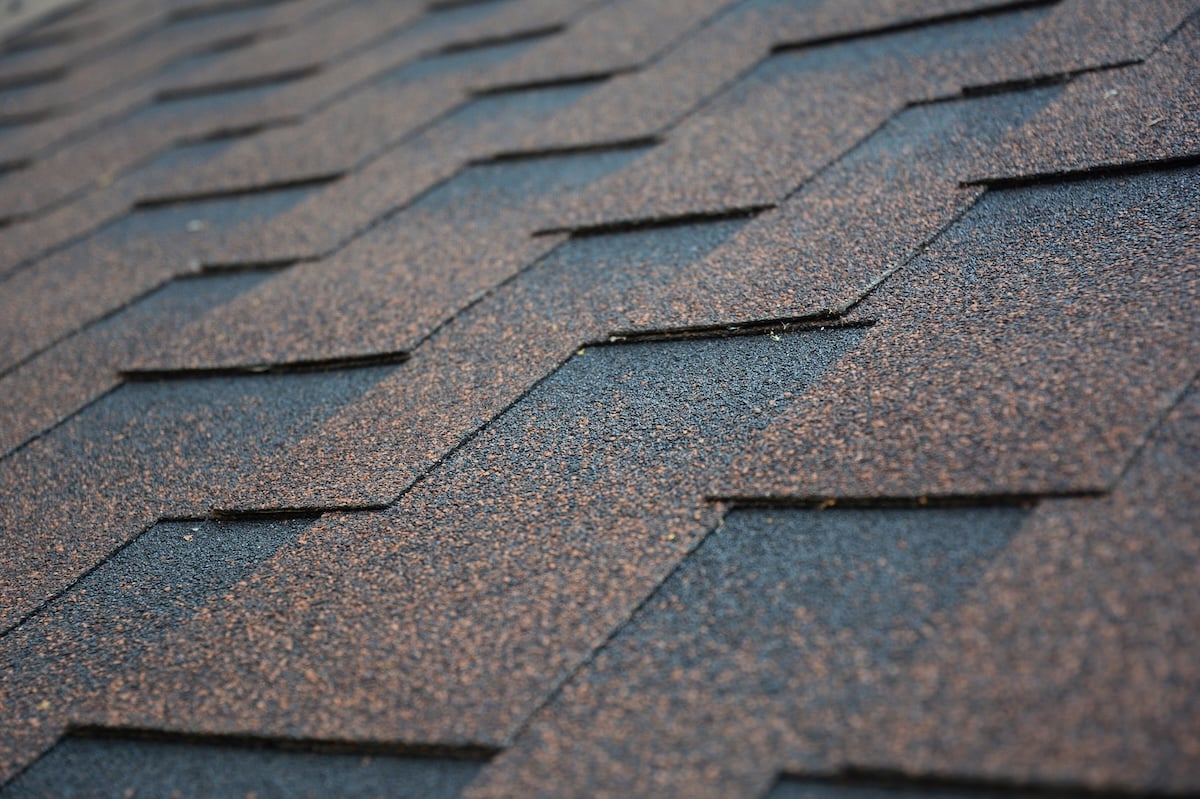
How To Install Architectural Shingles (7 DIY Pro Steps)
 9/2/2025
 9 Min Read
If you are wondering how to install architectural shingles, you are likely preparing for a roof upgrade that improves both durability and curb appeal. Architectural shingles, also known as laminated or dimensional shingles, are thicker and more resilient than standard asphalt shingles. They add dimension to your roof and provide better long-term protection, making them a smart choice for homeowners who want lasting value.
- Enhanced durability: Architectural shingles last longer than traditional 3-tab shingles.
- Curb appeal boost: Their layered look adds depth and style to any home.
- Weather resistance: They hold up better against wind, rain, and hail.
Below, we walk through why these shingles are worth it, the tools you need, the seven pro-level steps to install them, the mistakes to avoid, and how to keep them performing for decades.
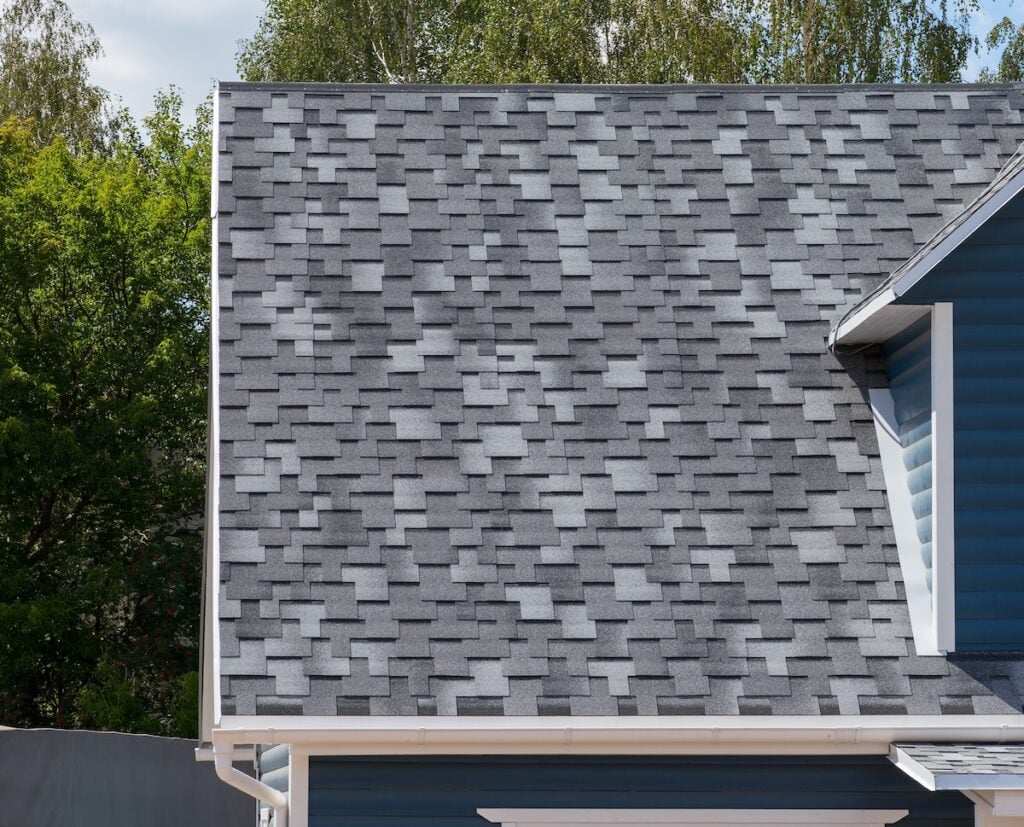
Why Choose Architectural Shingles?
Architectural shingles are designed to outperform standard asphalt options. They not only make your roof look better but also extend its lifespan, which is why they now dominate the residential market.
Improved Longevity
Most 3-tab shingles last about 15 to 20 years, while architectural shingles often last 25 to 30 years or more with proper installation. Their thicker, dual-layer construction resists wear, giving homeowners more value over the life of the roof. That added lifespan is a major reason architectural shingles have become the default choice for the majority of new residential roofs.
- Longer lifespan: 25 to 30-plus years versus 15 to 20 for 3-tab
- Dual-layer build: Laminated construction resists cracking and wear
- Better value: More years of protection per dollar spent
Stronger Protection Against Weather
These shingles are heavier and layered, which makes them more resistant to high winds and storm damage. Many products carry wind warranties up to 130 mph, and impact-resistant lines add hail protection, both valuable in the Midwest climate.
- High wind ratings: Many lines warranty against winds up to 130 mph
- Impact options: Class 4 impact-resistant shingles resist hail
- Storm ready: Heavier construction holds up to severe weather
Stylish Appearance
Available in a wide range of colors and patterns, architectural shingles mimic the look of wood or slate at a fraction of the cost. This enhances curb appeal and can increase resale value, letting you match nearly any home style.
- Dimensional look: Mimics wood shake or slate texture
- Color variety: Wide palette to match any exterior
- Resale boost: Strong curb appeal supports home value
Tools And Materials Needed
Before starting installation, you will need the right tools and supplies. Preparing everything ahead of time saves effort and ensures a smoother, safer process.
- Architectural shingles: Select your preferred color and brand.
- Roofing nails and nail gun: Corrosion-resistant nails for secure fastening.
- Roofing felt or synthetic underlayment: Provides a protective barrier beneath shingles.
- Ice-and-water shield: Self-adhering membrane for eaves and valleys in cold climates.
- Starter shingles: Used along roof edges to establish a secure base.
- Drip edge flashing: Directs water away from the fascia and protects roof edges.
- Chalk line and measuring tape: Ensures straight rows and accurate placement.
- Utility knife: For cutting shingles to size.
- Roofing cement: Used to seal edges and vulnerable areas.
- Ladder and safety gear: Gloves, safety glasses, and fall protection equipment.

7 Steps To Install Architectural Shingles
Here is a full breakdown of the installation process with pro-level detail. While ambitious homeowners can handle some parts, hiring a professional roofing contractor ensures the shingles are installed correctly and covered under warranty.
1. Prepare The Roof Surface
Remove the old shingles, then inspect the decking for rot, soft spots, or damage and replace any compromised sheathing. The deck must be clean, dry, and smooth before anything goes down, so sweep away all debris and protruding nails. Finally, install drip edge flashing along the eaves and rakes to guide water away from the fascia.
- Full tear-off: Remove old material and inspect the deck underneath
- Repair decking: Replace any rotted or soft sheathing before proceeding
- Drip edge: Install along eaves and rakes to protect roof edges
2. Lay Underlayment
Roll out synthetic underlayment or roofing felt across the entire deck to add a critical moisture barrier. In cold climates like Illinois and Wisconsin, install a self-adhering ice-and-water shield along the eaves and in valleys, extending it at least 24 inches past the interior warm wall to guard against ice dams. Overlap each course to keep water moving down and off the roof.
- Full coverage: Underlayment over the entire deck for moisture protection
- Ice-and-water shield: Essential at eaves and valleys in cold climates
- Proper overlap: Shingle-style laps keep water shedding downward
3. Install Starter Shingles
Place starter strips along the eaves and rakes to create a sealed foundation for the first course. Position them with roughly a half-inch overhang so water drips clear of the fascia and into the gutters. Starter shingles are what lock down the edges and are one of the most important defenses against wind uplift.
- Sealed edges: Starter strips create a bonded base at eaves and rakes
- Half-inch overhang: Directs water into gutters, away from fascia
- Wind defense: Prevents uplift at the roof’s most vulnerable points
4. Mark Guidelines
Snap horizontal and vertical chalk lines to establish straight, consistent reference guides across the roof. Accurate lines keep your courses even, your exposure consistent, and your finished roof looking professional. Taking time here prevents the crooked rows that compromise both appearance and water flow.
- Chalk reference lines: Keep courses straight and exposure consistent
- Even appearance: Straight rows read as professional workmanship
- Water flow: Proper alignment keeps water shedding correctly

5. Begin Shingle Installation
Starting at the bottom edge, nail shingles into place following the manufacturer’s nailing zone exactly. Use a minimum of four nails per shingle in standard conditions and six in high-wind areas or on steep slopes, placing each nail in the marked nailing strip. Nail placement is the single most important factor in wind resistance and warranty compliance, so avoid nailing too high or too low.
- Follow the nail line: Place nails in the manufacturer’s designated zone
- Nail count: Minimum four per shingle, six for high wind or steep slopes
- Correct depth: Drive nails flush, never overdriven or underdriven
6. Work Upward In Courses
Continue installing shingles row by row, staggering the joints between courses for strength and a natural, dimensional appearance. Keep your exposure consistent by working to your chalk lines, and trim carefully around vents, chimneys, and skylights. Proper flashing at these penetrations is essential to keep water out.
- Stagger joints: Offset seams between courses for strength and looks
- Consistent exposure: Work to your lines for even rows
- Flash penetrations: Seal around vents, chimneys, and skylights
7. Cap The Ridge
Finish the roof by installing ridge cap shingles along the peak and hips, working from the end opposite the prevailing wind so each cap overlaps the last. Use longer nails here since the caps cover multiple layers, and seal any exposed nail heads at the very end with roofing cement. Proper ridge capping and ridge ventilation complete a watertight, wind-resistant system.
- Overlap correctly: Start opposite prevailing winds and lap each cap
- Longer nails: Penetrate multiple layers into solid decking
- Seal exposed nails: Dab roofing cement on the final caps
How Long Does Installation Take?
Knowing the timeline helps you plan around weather and daily life.
Most professional crews complete an architectural shingle roof in two to three days, depending on size, pitch, and complexity, while a DIY effort can stretch across several weekends. Weather is the biggest variable, since shingles seal best in mild temperatures and installation should never happen on a wet or icy roof.
- Professional timeline: Typically two to three days for an average home
- DIY timeline: Often several weekends for a first-timer
- Weather matters: Mild, dry conditions are ideal for proper sealing
Common Mistakes To Avoid
Even though architectural shingles are built for durability, installation mistakes can dramatically shorten their lifespan.
Most roofing failures trace back to a handful of avoidable errors rather than defective materials. Watch for these when installing or when evaluating a contractor’s work.
- Skipping starter shingles: Without a secure base layer, edges are vulnerable to wind
- Nailing incorrectly: Nails too high, too low, or overdriven cause leaks and blow-offs
- Ignoring ventilation: Poor attic airflow overheats shingles and shortens their life
- Poor alignment: Crooked rows look bad and compromise water flow
- Using staples: Most manufacturers prohibit staples and will void the warranty
DIY Or Hire A Pro? What To Consider
Both paths are valid, but the right choice depends on your experience, budget, and risk tolerance.
Roofing is physically demanding, height-dependent work where small errors carry big consequences, from leaks to voided warranties. Weigh the following before deciding whether to climb up yourself.
- Warranty rules: Manufacturers often require professional installation to validate coverage
- Skill and safety: Pros handle valleys, flashing, and steep pitches with proper fall protection
- Time and cost: DIY saves labor cost but takes far longer and carries real risk
- Resale confidence: A permitted, professionally installed roof reassures future buyers
Benefits Of Professional Installation
While installing architectural shingles is possible for skilled DIYers, professional installation offers clear advantages that protect your investment.
A certified crew brings experience, efficiency, and accountability that are hard to match on your own. Here is what hiring a pro delivers.
- Warranty coverage: Certified installation keeps manufacturer warranties intact
- Precision and experience: Pros manage valleys, hips, flashing, and ventilation details
- Time and safety: Crews work efficiently with proper safety equipment
- Correct nailing: Trained installers hit the nail line every time for full wind ratings
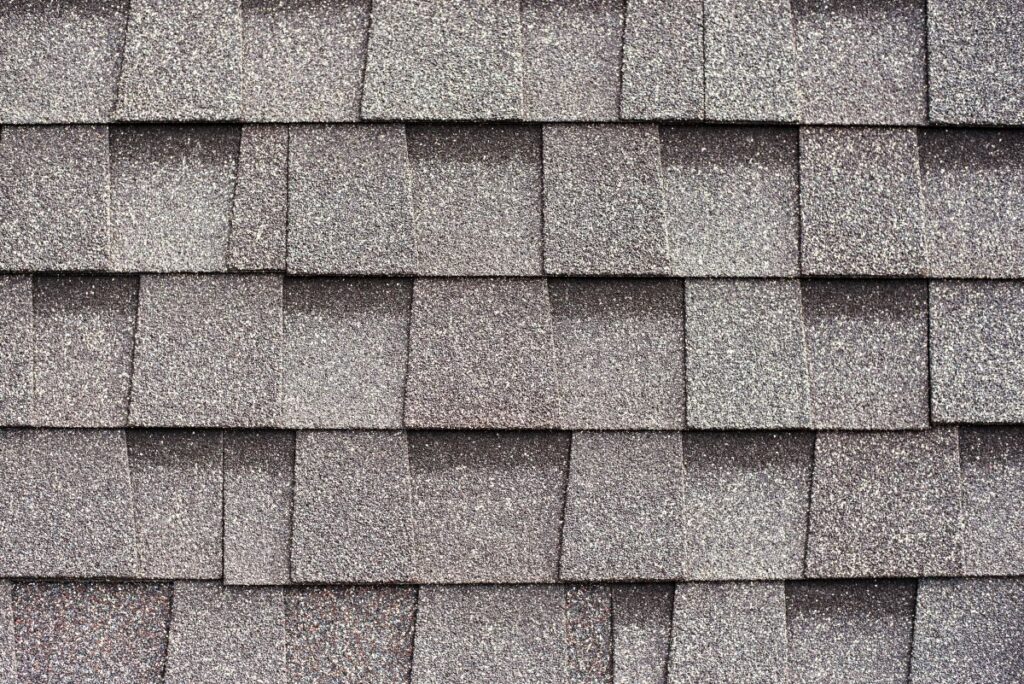
How To Maintain Architectural Shingles
Proper maintenance helps your shingles reach their full lifespan. A little attention each year prevents small issues from becoming expensive repairs. Build these habits into your seasonal home maintenance.
- Inspect annually: Check for missing, curled, or cracked shingles, especially after storms
- Clean gutters: Clogged gutters let water back up and damage shingles and fascia
- Trim nearby trees: Overhanging branches scrape shingles and drop debris
- Check flashing: Ensure flashing around chimneys, skylights, and vents stays intact
- Address issues quickly: Prompt repairs stop minor problems from spreading
Upgrade Your Roof With Shake Guys
Now that you know how to install architectural shingles, you can see why they are one of the best choices for homeowners. Their durability, beauty, and weather resistance make them a worthwhile investment for long-term protection, but the quality of the installation is what determines how long they last. At Shake Guys, we specialize in installing high-quality architectural shingles with precision and care, from deck prep and correct nailing to flashing and ridge ventilation. Whether you are replacing an old roof or upgrading for style and performance, our team ensures a flawless installation backed by experience and trust. Contact Shake Guys today for a free inspection and take the first step toward a stronger, more beautiful roof.


Schedule a Free Inspection & Consultation
We look forward to providing you with premium customer service & high-quality results.