
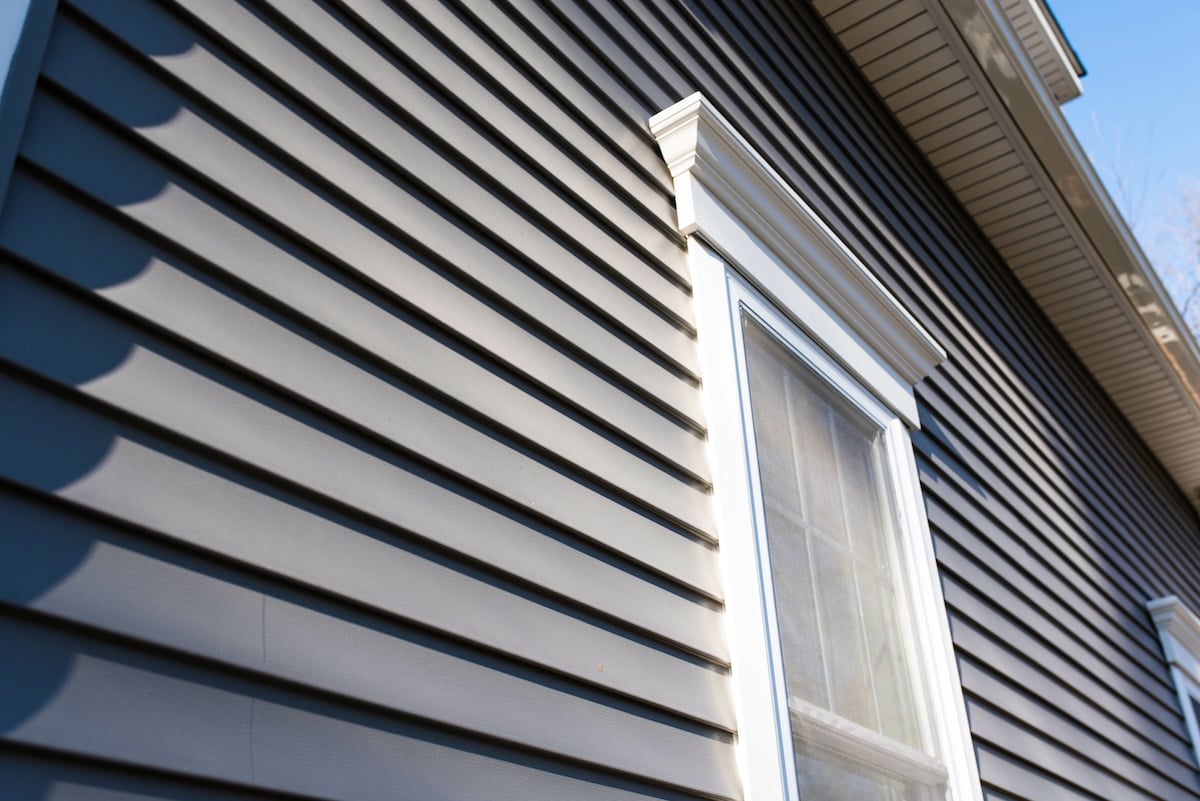
How To Install Vinyl Siding (7 Steps & When To Hire Pro)
 8/19/2025
 6 Min Read
Learning how to install vinyl siding is a great way to refresh your home’s exterior, and understanding the process helps you decide whether to tackle it yourself or hire a pro. Vinyl siding is popular because it is durable, affordable, and available in a wide range of styles, and a small single-wall or patch job is realistic for a confident DIYer. A full-house installation, though, involves scaffolding, precise expansion allowances, and warranty considerations that usually warrant a professional. This guide walks through the 7 installation steps, the tools you need, common mistakes, and exactly when to call a pro.
- DIY-feasible in small doses: A single wall or repair is doable for a handy homeowner.
- Full-house is a pro job: Large installs demand experience, speed, and warranty compliance.
- Low maintenance payoff: Done right, vinyl siding lasts decades with minimal upkeep.
Below, we cover why vinyl siding is popular, the tools you need, the 7 steps to install it, common mistakes, and when to hire a professional.
Why Vinyl Siding Is a Popular Choice
Before diving into the steps, it helps to understand why so many homeowners choose vinyl siding over other materials. Its blend of value and low upkeep is hard to beat.
Vinyl holds up well to weather, needs little maintenance, and costs less than most alternatives. Those three strengths make it a go-to for exterior updates.
- Durability: Resists rain, wind, and sun without rotting or attracting pests, with UV protection to limit fading
- Low maintenance: An occasional rinse keeps it looking new, with no painting or sealing required
- Affordability: Costs less than wood or fiber cement, with faster installation that lowers labor costs
Tools and Materials Needed
Gathering the right tools before you start makes the job smoother and prevents mid-project delays. Have everything on hand and organized before the first panel goes up.
Most of these are common items a DIYer can rent or buy affordably. The specialty pieces, starter strips and J-channels, are what give the finished job its clean edges.
- Measuring tape: For accurate cuts and panel placement
- Utility knife or tin snips: For trimming panels to size
- Level: To keep panels straight and rows even
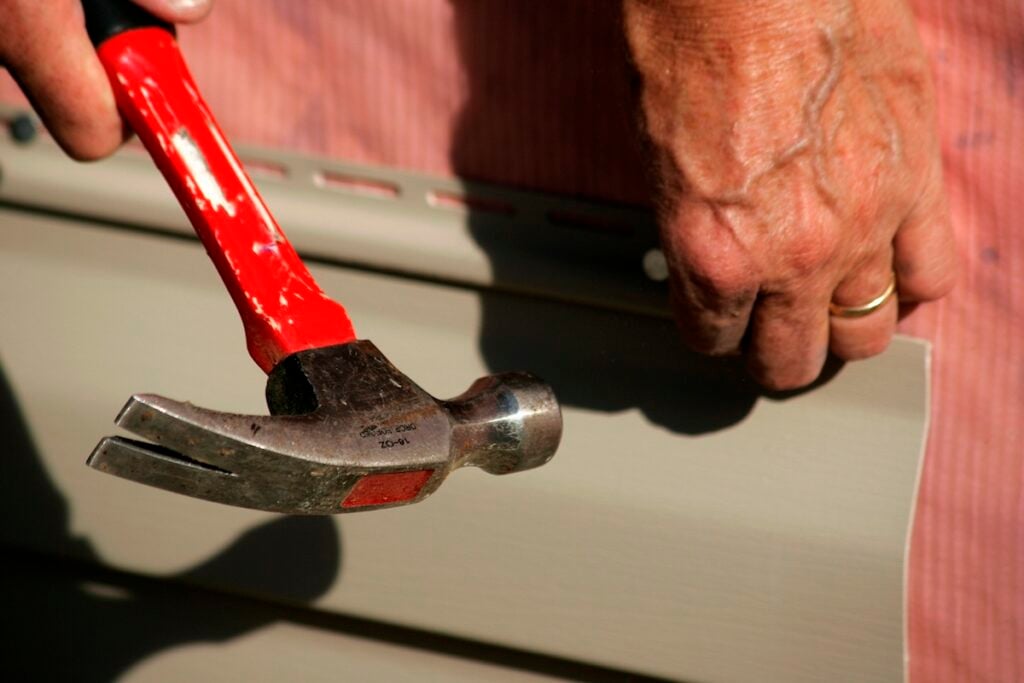
- Hammer or nail gun: For fastening siding to the sheathing
- Starter strips and J-channels: The base and finishing edges for the panels
- Vinyl siding panels: In your chosen color and style, plus matching trim
- Safety equipment: Gloves, safety glasses, and a stable ladder
7 Steps to Install Vinyl Siding
Here is a complete breakdown of the installation process. A small single-wall section is manageable for a confident DIYer, while professional installation is the safer route for a whole home.
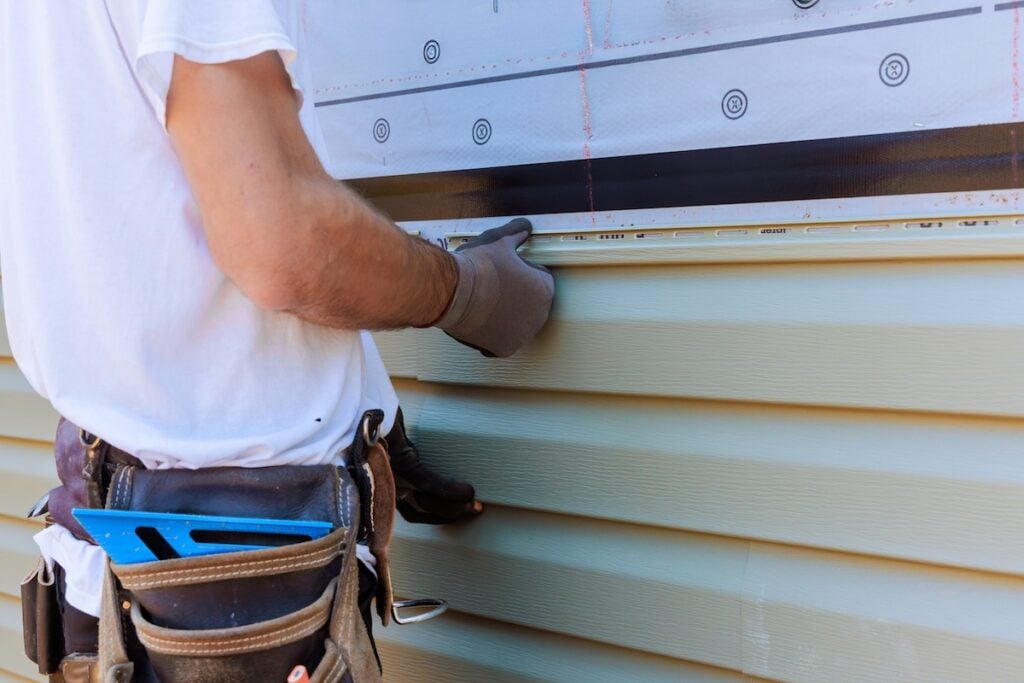
- Prepare the surface: Remove old siding, repair any damaged sheathing, and install house wrap or insulation board. A clean, flat, dry surface is essential for a proper installation.
- Install starter strips: Attach level starter strips along the bottom of the wall to create the base for the first row. If this is off, every row above it will look uneven.
- Add corner posts and J-channels: Set corner posts at the edges and J-channels around windows, doors, and soffits to frame the siding with clean, finished edges.
- Cut and fit siding panels: Trim panels to size with a utility knife or tin snips, always leaving room for expansion, since vinyl expands in heat and contracts in cold.
- Nail panels in place: Fasten each panel to the sheathing, but do not drive nails tight. Panels must be able to move slightly with temperature changes to avoid buckling.
- Work up the wall: Stack panels row by row, locking each into the one below and checking alignment with a level as you go to keep rows straight.
- Install top panels and finishing trim: Cut the final row to fit and secure it beneath the soffit with J-channels or finishing trim for a clean, uniform finish.
Common Mistakes to Avoid
Even small installation errors can cause big problems down the line, from buckling to moisture intrusion. Watching for these keeps a DIY job from turning into a costly redo.
Most siding failures trace back to a handful of avoidable mistakes. Keep these top of mind whether you are doing the work or checking a contractor’s.
- Nailing too tightly: Prevents expansion and contraction, leading to buckled panels
- Skipping house wrap: Leaves the home vulnerable to moisture and energy loss
- Ignoring level alignment: Produces crooked rows that ruin the finished look
- Improper trimming: Inaccurate cuts create gaps and uneven seams
When to Hire a Pro
Deciding between DIY and a professional comes down to the size and complexity of the job. A realistic look at the scope will tell you which path makes sense.
Small, ground-level work is within reach for many homeowners, but full-house installs raise the stakes on safety, speed, and warranty compliance. Here is how to judge.
- DIY-feasible: A single accessible wall, a small addition, or replacing a few damaged panels at ground level
- Hire a pro for full-house installs: Multi-story work, scaffolding, and large square footage demand a trained crew
- Warranty protection: Improper installation can void manufacturer warranties, which professional work keeps intact
- Time and precision: A crew finishes in days what takes a DIYer several weekends, with cleaner expansion and corner details
If your project is a full-house install or anything beyond a simple single wall, professional installation protects both your home and your warranty. Request a free siding quote from Shake Guys to get an expert assessment and a clear estimate for your project.
How to Maintain Your Vinyl Siding
Once your siding is installed, a little routine care keeps it looking great and performing for decades. These simple habits protect your investment.
- Clean annually: Rinse with a garden hose or gentle pressure wash to remove dirt, mold, and algae
- Check after storms: Look for cracks, warping, or loose panels and address them promptly
- Trim nearby trees: Keep branches from scratching or denting the siding
- Inspect trim and caulking: Ensure J-channels and corners stay sealed against pests and moisture

Transform Your Home With Shake Guys
Now that you know how to install vinyl siding, you can see why it is one of the most popular exterior choices, combining affordability, durability, and curb appeal. A small single-wall project is well within reach for a confident DIYer, but for a full-house install, professional work ensures clean results, faster completion, and an intact warranty. At Shake Guys, our team has years of experience installing high-quality vinyl siding with precision and care, and we can also help you choose the right siding colors for your home. Ready to upgrade your exterior? Contact Shake Guys today for a free inspection and get started on your siding project with confidence.


Schedule a Free Inspection & Consultation
We look forward to providing you with premium customer service & high-quality results.