How To Tarp a Roof After Storm Damage (7 Easy Steps)
 7/8/2025
 7 Min Read
Knowing how to tarp a roof after storm damage is a crucial skill for homeowners facing unexpected weather emergencies. A properly secured tarp can help prevent further water intrusion, protect your home’s structure, and buy time before professional repairs can begin.
Temporary protection: Tarps provide immediate coverage to stop leaks and reduce damage.
Safety-first approach: Quick action helps prevent mold, wood rot, and insulation damage.
Peace of mind: Having a plan for temporary repairs makes navigating storm recovery less stressful.
In this guide, we’ll walk you through the materials you need, safety precautions to take, and the seven essential steps for securely tarping your roof after a storm.
💧 Why Acting Fast Matters After Storm Damage
Delaying Repairs Can Make Things Worse
Storm damage often exposes your roof’s underlayment, decking, and insulation to moisture. Even a short delay in covering that area can lead to costly problems like saturated drywall, mold growth, or electrical damage.
Water intrusion risk: Exposed areas allow rain to soak into your home’s structure.
Escalating damage: Roof decking and support beams can weaken if left uncovered.
Insurance timelines: Most providers expect you to take reasonable steps to prevent additional losses.
Tarps Provide a Temporary but Effective Solution
While a tarp isn’t a permanent fix, it can prevent further damage until a licensed roofing contractor can assess and repair the roof properly.
Budget-friendly stopgap: Tarps cost less than emergency repairs and can be installed quickly.
Protects valuables: Reduces the chance of water reaching your attic insulation, wiring, or personal belongings.
⚠️ Safety First: Before You Get on the Roof
Wait Until the Storm Has Passed
Never attempt to tarp a roof during high winds, lightning, or active rain. Wait until the area is safe and the weather is stable before climbing onto your roof.
Use the Right Safety Gear
Footwear: Wear shoes or boots with rubber soles for maximum traction.
Harness: Use a safety harness secured to a stable anchor point whenever possible.
Ladder: Choose a ladder that extends at least three feet above the roof edge and is secured at the base.
Have a Helper Nearby
Always work with a partner who can hold the ladder, hand up materials, and call for help in case of an accident.
⭐️ Materials You’ll Need To Tarp a Roof
Waterproof tarp: At least 6 millimeters thick and large enough to cover the damaged area plus 3–4 feet beyond.
Wood strips (1x2s or 2x4s): Used to secure the tarp’s edges without damaging the roof.
Nails or screws: For fastening wood strips without tearing the tarp.
Hammer or cordless drill: For attaching wood strips.
Utility knife: To trim tarp edges and cut access holes for protrusions.
Roofing adhesive or caulk (optional): For sealing around chimneys, vents, or complex areas.
✅ 7 Easy Steps To Tarp a Roof After Storm Damage
- Assess the Damage From the Ground: Use binoculars or your phone’s zoom to inspect the roof from a safe location. Look for missing shingles, punctures, sagging spots, or exposed wood.
- Choose the Right Tarp Size: Your tarp should extend at least 3–4 feet beyond the damaged area in all directions to ensure full coverage and reduce the risk of wind uplift.
- Climb Safely and Clear Debris: When conditions are safe, climb onto the roof with caution. Use a blower or broom to remove loose debris like shingles or branches for a smooth surface.
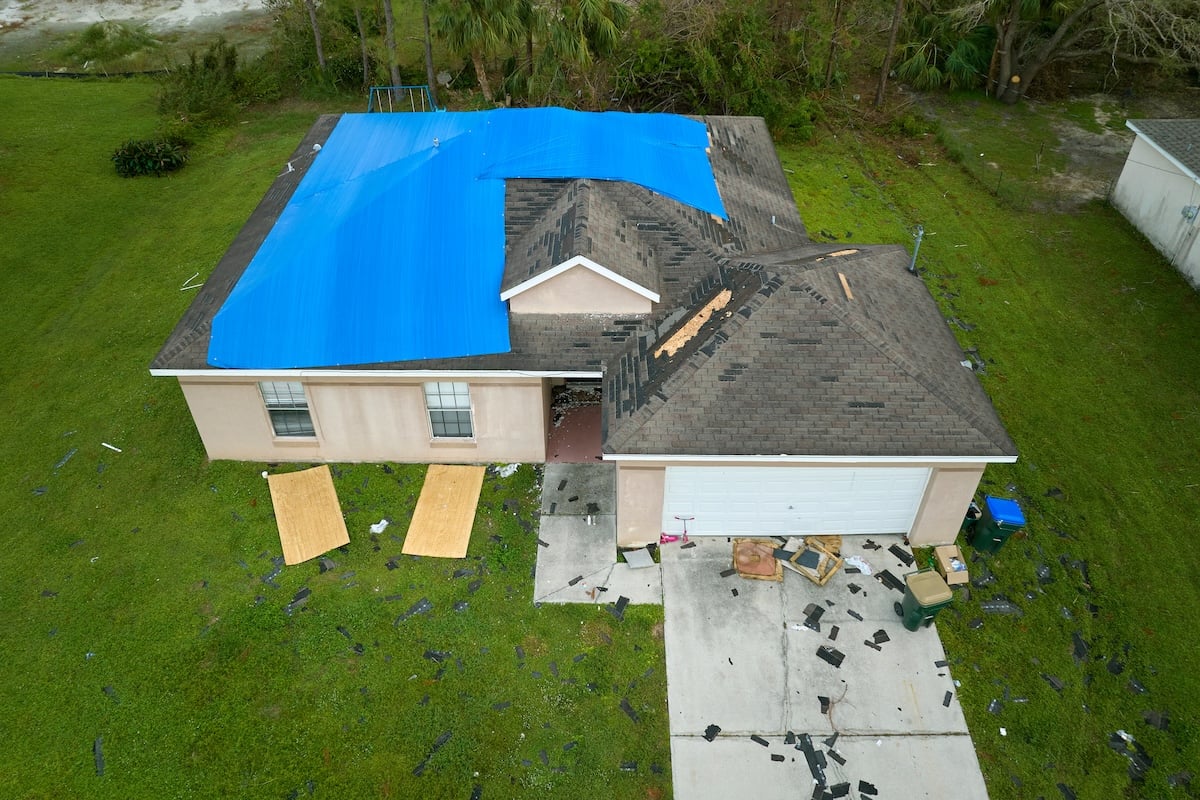
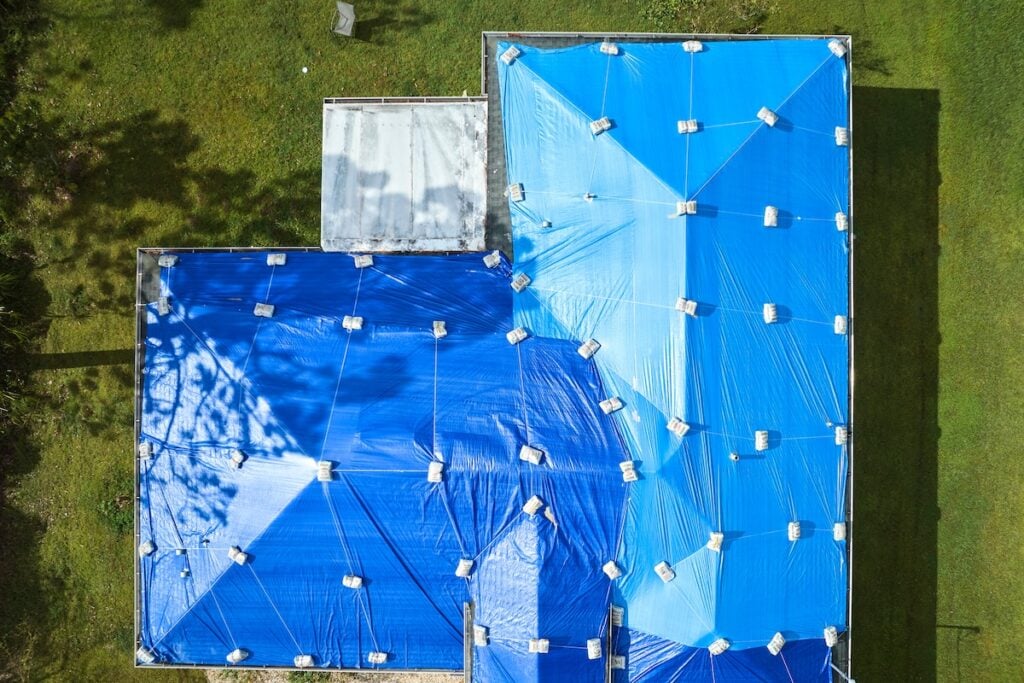
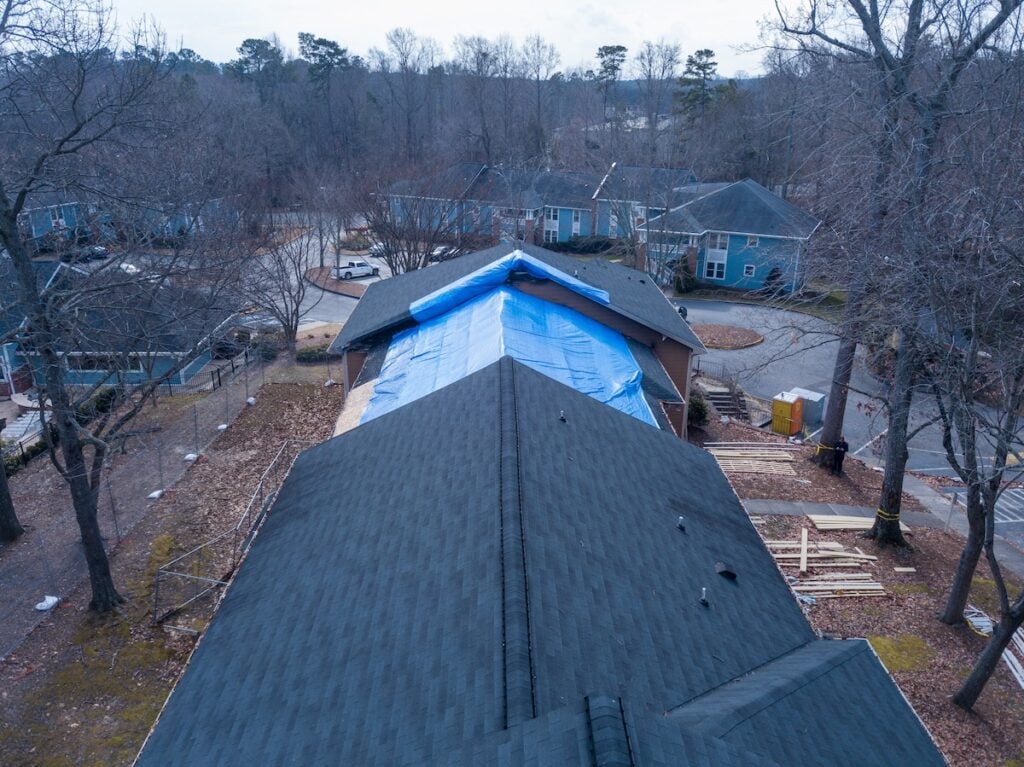
- Lay the Tarp Over the Damage: Position the tarp so that it fully covers the damaged area and overhangs the roof edge. If possible, extend it over the roof’s ridge to encourage water runoff.
- Secure the Tarp With Wood Strips: Wrap the tarp’s edges around wooden boards and fasten the boards to the roof using nails or screws. This helps avoid tearing the tarp and keeps it tight against the surface.
- Tuck Under Shingles or Seal as Needed: In valleys or near flashing, carefully lift shingles to tuck the tarp underneath for better coverage. Use adhesive or caulk to secure the edges if necessary.
- Inspect and Monitor the Tarp: Check your work from the ground to ensure the tarp lies flat. Reinspect after strong winds or heavy rain to make sure it stays secure.
⛈️ Types Of Storm Damage That Require Tarping
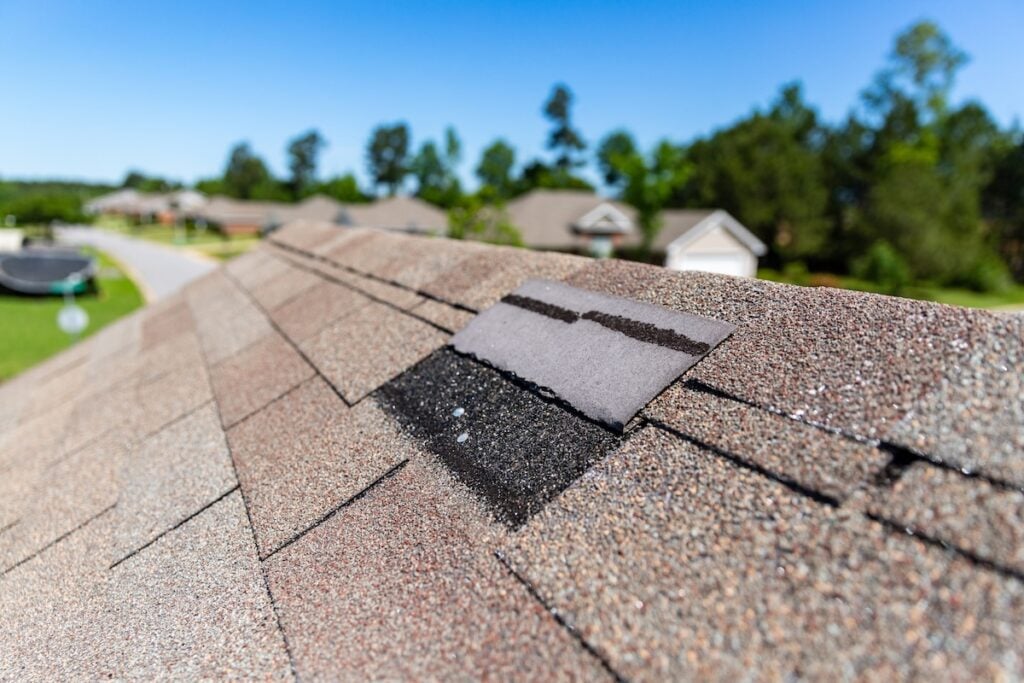
Missing or Torn Shingles
Exposed underlayment: Shingles protect your roof layers from moisture, so their loss leaves you vulnerable.
Common triggers: Strong winds, hail, or debris impact.
Punctures From Falling Branches
Direct penetration: Even small holes can let water in.
Risk factors: Overhanging trees and storm-blown debris.
Flashing Separation
Water entry points: Flashing around chimneys, skylights, or vents may peel up or crack.
Often overlooked: Flashing damage may not be visible without close inspection.
Soffit and Fascia Damage
Edge vulnerability: Uplifted soffits or fascia panels can expose your attic.
Secondary effects: Water can enter the walls or attic through these openings.
🛠️ Temporary Tarp vs. Permanent Repair
A Tarp Is Only a Short-Term Solution
While a tarp is better than leaving the damage exposed, it is not designed to last more than a few weeks. Prolonged exposure can wear it down or cause it to shift.
Temporary coverage: Tarps buy time but won’t last through a full storm season.
Prone to failure: Tarps can loosen or tear under heavy rain or wind.
Schedule Repairs Promptly
Once the tarp is installed, reach out to a qualified roofer to inspect the structure underneath and provide a permanent solution.
Prevent interior damage: Leaks can spread to ceilings, drywall, and insulation.
Ensure warranty protection: Most roofing warranties require timely repairs after storm events.
📋 Insurance and Roof Damage Claims
Document Everything
Take pictures before and after placing the tarp, including close-ups of the damage. Save your receipts for any materials or emergency services.
Claim support: Detailed records help streamline your insurance claim.
Out-of-pocket reimbursement: Emergency mitigation costs may be reimbursed.
Communicate With Your Provider
Notify your insurance company as soon as you spot roof damage. Ask whether they want you to wait for an adjuster before installing a tarp or if immediate mitigation is encouraged.
Avoid claim delays: Prompt communication keeps your claim moving forward.
Stay compliant: Follow your provider’s instructions to avoid denial of coverage.
Partner With a Reliable Roofer
Choose a licensed roofing contractor with storm damage experience. They can provide documentation, meet with adjusters, and handle repairs that align with your policy.
Maximize coverage: A roofer who understands insurance helps ensure all damage is included.
Faster recovery: A streamlined process gets your roof back to normal sooner.
💪 Get Emergency Protection and Peace of Mind With Shake Guys
Knowing how to tarp a roof is valuable in an emergency, but it’s just a temporary line of defense. A tarp can prevent further damage in the short term, but it’s no substitute for professional inspection and repair.
Shake Guys is here when storms strike. From emergency tarping to full restoration, our team delivers fast, reliable service to protect your home and give you peace of mind. We specialize in storm damage, cedar shake systems, and total exterior care—so you can trust we’ll get the job done right.
Request your free inspection today and let Shake Guys guide you through storm recovery with expert care, attention to detail, and lasting protection.


Schedule a Free Inspection & Consultation
We look forward to providing you with premium customer service & high-quality results.