Roof Vent Installation Guide (Explained In 6 Steps)
 6/10/2025
 6 Min Read
Proper roof vent installation is one of the most overlooked but essential upgrades for homeowners. A well-ventilated attic helps regulate indoor temperatures, prevent moisture buildup, and extend the lifespan of your roofing system.
- Temperature control: Roof vents release trapped heat, keeping attic temperatures stable year-round.
- Moisture prevention: Ventilation minimizes condensation, protecting wood, insulation, and shingles from rot.
- Energy savings: A cooler attic reduces the load on your air conditioning system and lowers monthly utility bills.
In this step-by-step guide, we’ll explain how roof vent installation works, explore different types of vents, and help you decide what’s best for your home.
💨 Why Roof Ventilation Matters
Helps Prevent Roof Damage
Without proper ventilation, heat and moisture can build up inside your attic, leading to mold, warped decking, or premature shingle deterioration. Roof vents create continuous airflow that pulls in fresh air and expels heat and humidity.
- Shingle protection: Excessive attic heat can cause roofing materials to age faster.
- Decking preservation: Moisture trapped in the attic leads to soft spots or sagging wood.
Improves Energy Efficiency
Attics that trap heat in the summer force your air conditioner to work harder. In winter, poor ventilation can lead to uneven roof temperatures and ice dam formation.
- Lower utility bills: Removing excess attic heat reduces cooling costs.
- Prevents ice dams: Even airflow minimizes snowmelt and refreezing at the roof’s edge.
Supports Indoor Comfort
Ventilation helps regulate indoor temperatures by acting as a buffer between your home’s conditioned living space and the outside environment.
- Consistent temperatures: Reduces hot or cold spots in upstairs rooms.
- Better indoor air quality: Removes stale or contaminated air that rises into the attic.
🤔 How To Know If Your Roof Needs Better Ventilation
Signs of Poor Ventilation
- Hot attic air: If your attic feels like an oven in the summer, airflow is likely inadequate.
- Mold or mildew: Musty smells or visible growth in your attic signal trapped moisture.
- High energy bills: Inconsistent heating or cooling often relates to attic ventilation issues.
- Ice dams: Persistent winter ice along the eaves can point to poor airflow and attic heat buildup.
Age or Damage to Existing Vents
- Cracked vent covers: Aging vents may be brittle, cracked, or warped.
- Blocked soffit vents: Dirt, debris, or insulation can clog intake vents and disrupt airflow.
- Rusted flashing: Old vents may allow water to seep into the attic during storms.
✅ Types Of Roof Vents
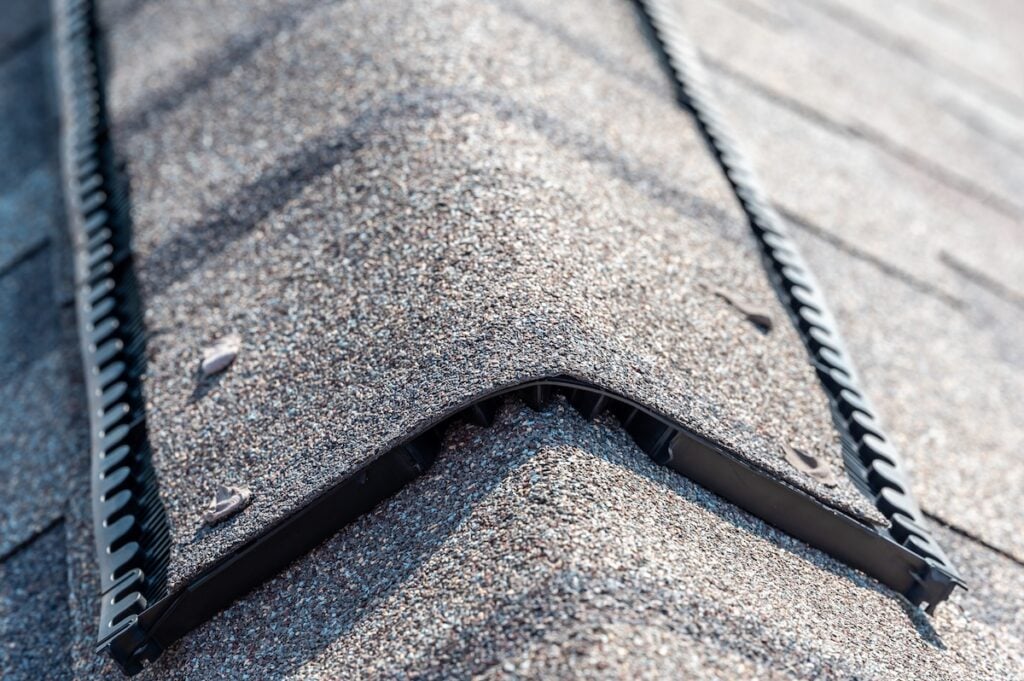
Ridge Vents
These run along the peak of your roof and are covered with shingles to blend seamlessly with the roofline.
- Low-profile design: Looks clean and modern on all roof styles.
- Requires continuous soffit intake: Works best with balanced ventilation.
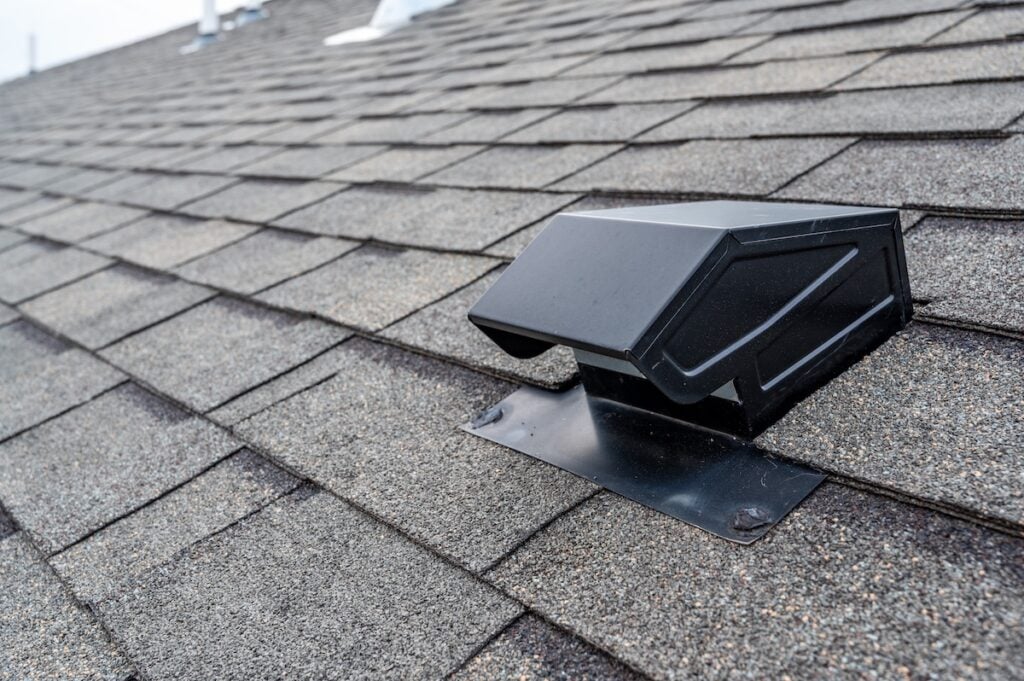
Box Vents (Static Vents)
Small, square units installed near the roof ridge to allow heat to escape.
- Budget-friendly: Easier and quicker to install than ridge vents.
- Less efficient: Typically requires multiple units to achieve proper airflow.
Soffit Vents
Installed under the roof’s eaves, soffit vents draw in cooler air as hot air rises out of ridge or box vents.
- Intake component: Works in tandem with exhaust vents to create airflow.
- Can be clogged: Must remain unobstructed by insulation or debris.
Gable Vents
Mounted on the exterior walls at the roof’s peak ends, these vents allow hot air to escape through the attic’s gable sides.
- Traditional design: Common in older or classic-style homes.
- Works best with other vents: Often used as supplemental exhaust.
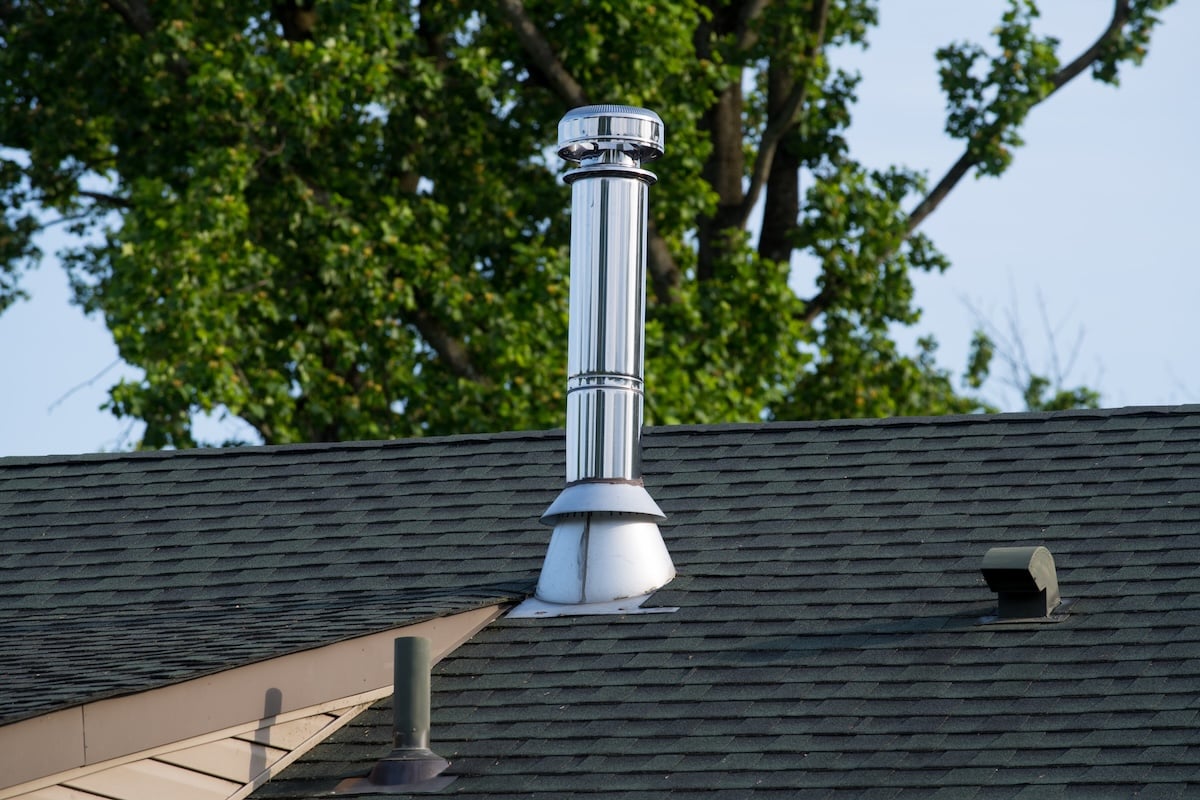
Turbine Vents
These spinning vents harness wind to draw hot air from the attic, increasing airflow without electricity.
- Effective in windy areas: Moves more air than static vents when conditions are right.
- May require maintenance: Moving parts can rust or seize over time.
Powered Attic Vents
Electric or solar-powered fans that actively remove hot air from the attic.
- Fast air exchange: Ideal for homes in hot climates or with large roof surfaces.
- May impact efficiency: Can pull conditioned air from living spaces if not installed carefully.
✅ Roof Vent Installation In 6 Steps
- Inspection and Ventilation Assessment: A roofing expert inspects your attic and roofing system to determine how much ventilation your home needs. This includes evaluating square footage, current vent types, and existing airflow pathways.
- Selecting the Right Vent Type: Based on your home’s roof pitch, attic layout, and ventilation needs, your contractor will recommend the most effective vent types . Balanced systems use both intake (like soffits) and exhaust (like ridge or box vents) to create continuous airflow.
- Planning Vent Placement: Proper vent spacing ensures even ventilation across the attic. Ridge vents run along the peak, box vents are staggered near the top, and soffit vents line the eaves. The placement plan also avoids interference with other roof elements like skylights or chimneys.
- Cutting the Roof Deck: The installer marks the roof in the designated locations and cuts openings in the decking. For ridge vents, a narrow slot is cut along the peak; for box or turbine vents, circular or square holes are created.
- Installing and Sealing the Vents: Each vent is installed using roofing nails or screws, then sealed with flashing and waterproof membrane to prevent leaks. Ridge vents are covered with shingles to blend into the roof.
- Testing and Cleanup: After installation, airflow is tested to confirm the system works as intended. The attic is inspected for proper intake and exhaust, and the job site is cleaned of debris, nails, and removed roofing materials.
⭐️ Benefits Of Professional Vent Installation
Correct Ventilation Sizing
- Custom fit: Professionals calculate the exact amount of ventilation your attic requires.
- Code compliance: Ventilation ratios are matched to local building codes and roofing manufacturer standards.
Leak Prevention and Weatherproofing
- Proper flashing: Installers seal vents with flashing and underlayment to avoid leaks.
- Shingle integration: Vents are placed without damaging surrounding shingles.
Warranty Protection
- Manufacturer standards: Improper vent installation can void roofing warranties.
- Long-term performance: Ventilation done right extends the life of your roofing system.
🛠️ Maintenance Tips for Roof Vents
- Clear debris regularly: Leaves, nests, or insulation can block vents.
- Inspect during seasonal checkups: Look for signs of cracking, rust, or warping.
- Repaint metal vents: Keep turbine or gable vents in good condition with occasional touch-ups.
- Check soffits: Ensure insulation doesn’t cover soffit vents from inside the attic.
🤝 Trust Shake Guys With Your Roof Vent Installation
Roof vent installation is one of the most important steps you can take to protect your home and roof investment. When done properly, it reduces heat buildup, prevents moisture damage, and helps your attic stay healthy and dry all year long.
At Shake Guys, we specialize in full roof systems—from cedar shake replacement to advanced ventilation upgrades. Our team understands how every part of your roof works together to protect your home and improve energy efficiency.
Request your free inspection today and let Shake Guys deliver expert roof vent installation that supports long-term performance and peace of mind.


Schedule a Free Inspection & Consultation
We look forward to providing you with premium customer service & high-quality results.