Storm Damage Roof Inspection Guide (8 Key 2026 Steps)
 3/19/2026
 6 Min Read
A storm damage roof inspection is one of the most important steps you can take after severe weather hits your area. High winds, hail, and heavy rain can weaken your roof in ways that aren’t always visible from the ground, but ignoring those small issues can lead to major repairs later on.
- A roof inspection can catch hidden damage before it turns into a leak
- Knowing what to look for helps homeowners make smart decisions
- Professional inspections are often covered by insurance companies
In this guide, we’ll walk you through the eight most important steps in a storm damage roof inspection so you know what to expect and how to protect your home.
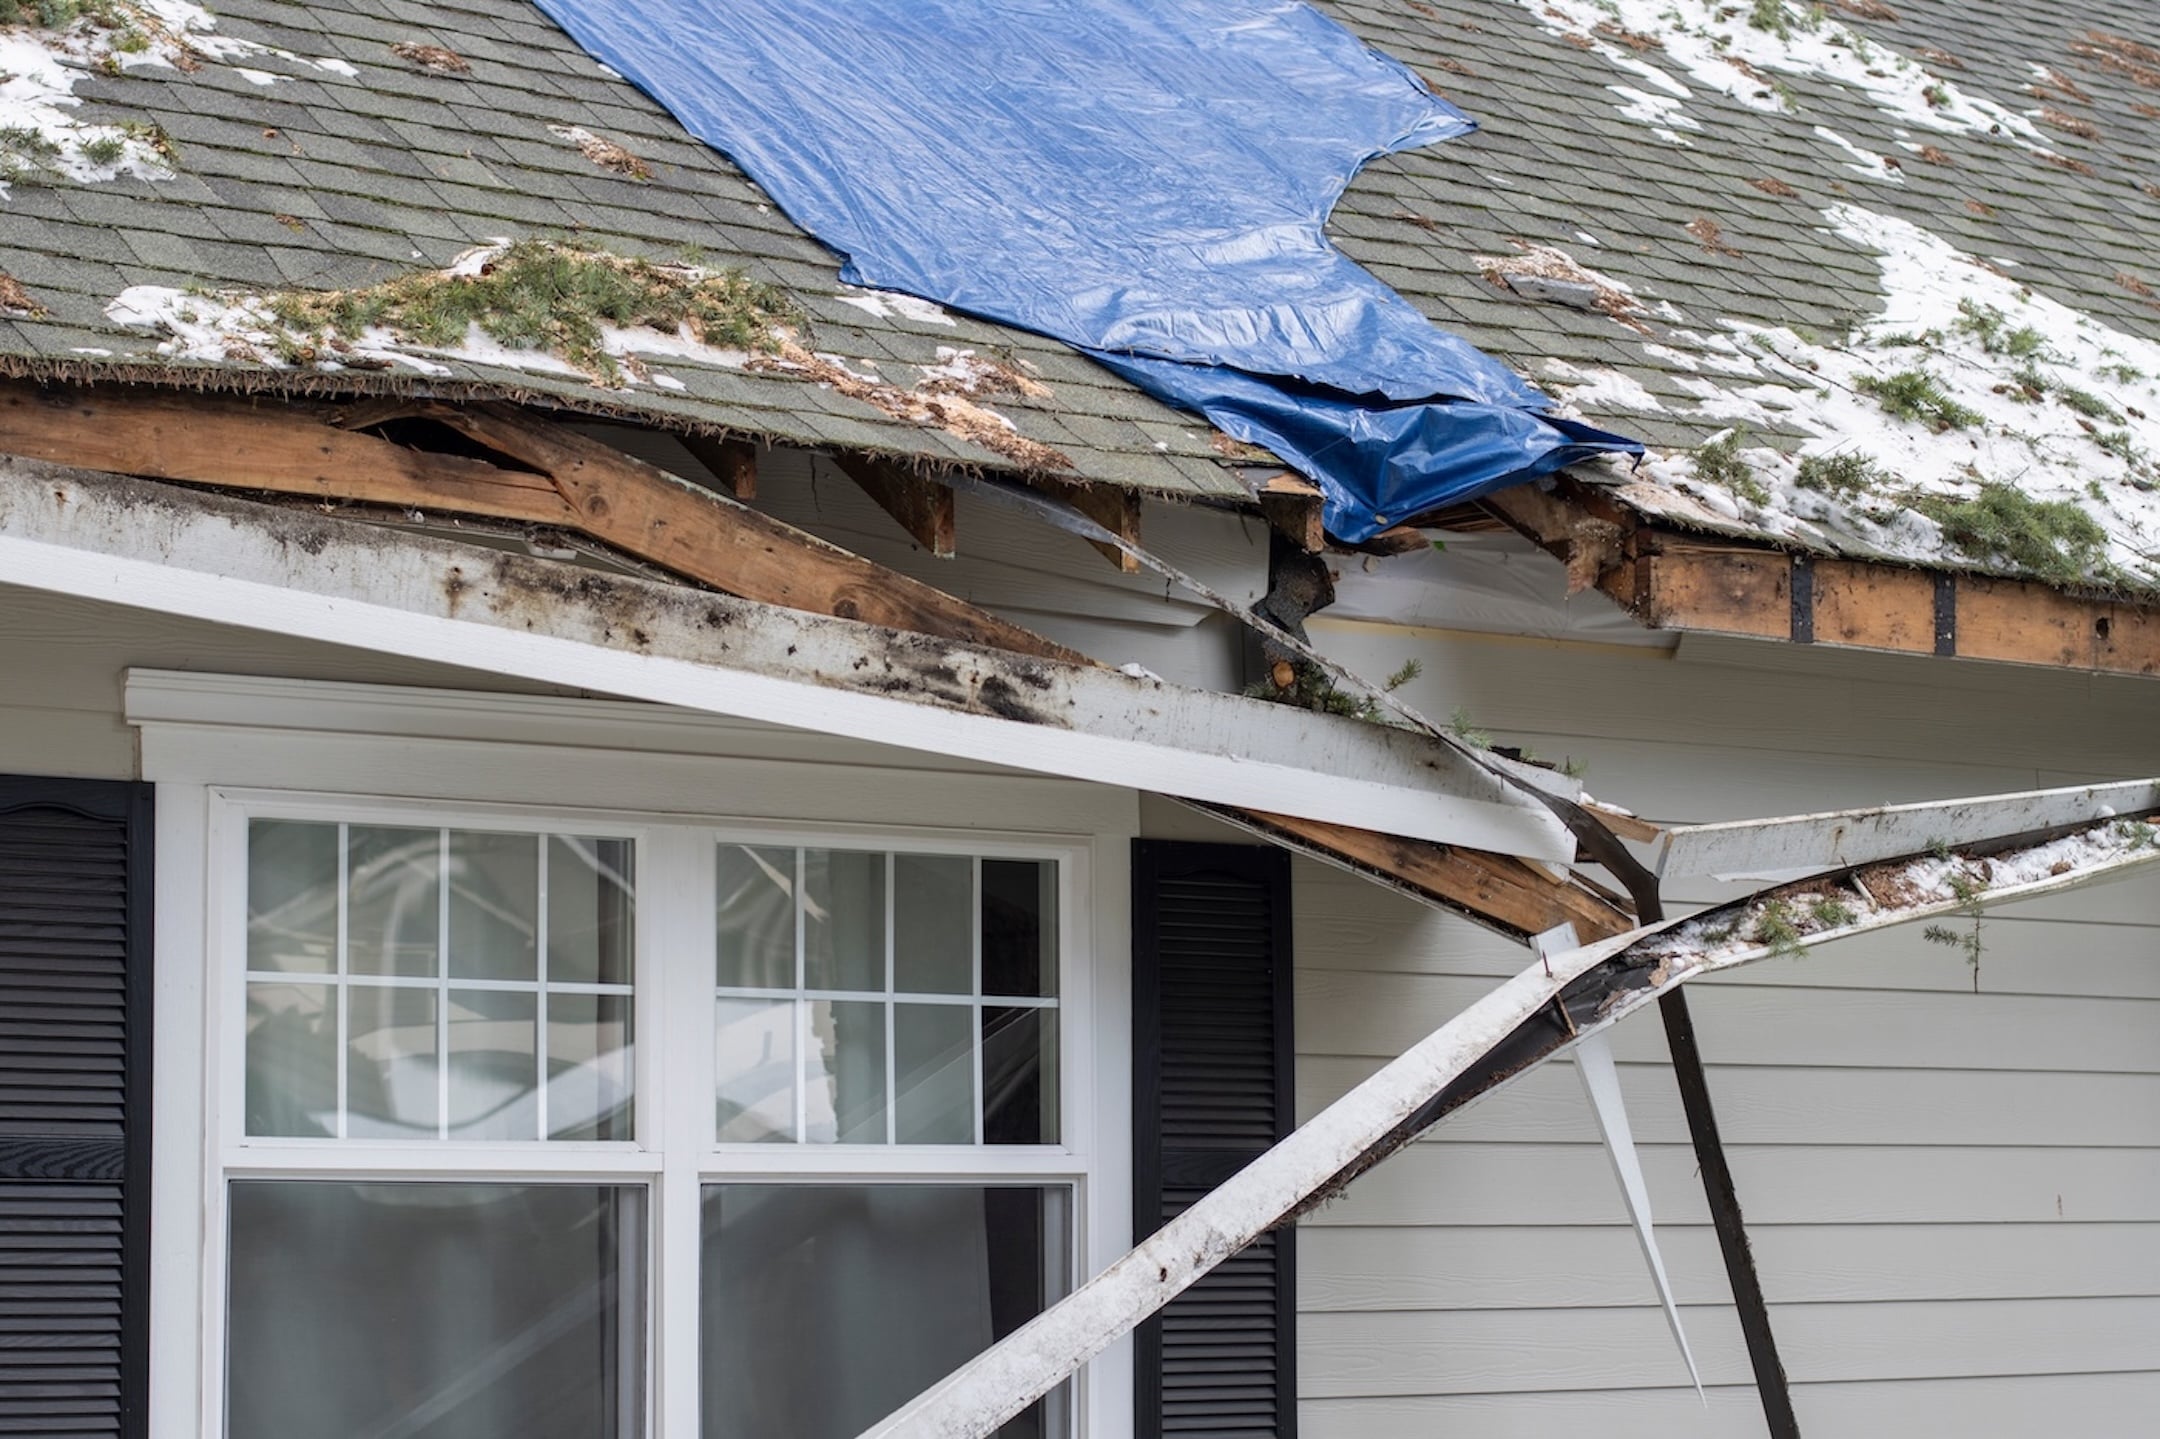
Why Roof Inspections After a Storm Are So Important
Even a roof that appears fine after a storm can have subtle issues developing beneath the surface. Damage to shingles, flashing, or decking can take weeks or months to result in visible leaks, leading to costly interior repairs. Getting a roof inspection right away helps identify concerns early and prevents further damage.
A thorough storm inspection is also critical if you plan to file an insurance claim. Most companies require documentation from a professional roofing contractor, and some may have time limits after the event. Acting quickly can protect your investment and simplify the claims process.
8 Steps in a Storm Damage Roof Inspection
Below are the key steps roofers follow during a professional inspection after a storm. While some of these items can be spotted from the ground, a licensed contractor will use safety equipment and roofing knowledge to perform a complete evaluation.
1. Inspect the Perimeter of the Home
Before climbing on the roof, a visual inspection begins at ground level. Roofers will look for debris and signs of damage around the home’s exterior.
- Shingle debris: Pieces of torn shingles or granules in the yard or gutters
- Damaged siding or trim: May indicate impact points from wind or hail
- Tree limbs: Fallen branches can damage roofing materials or hidden areas
- Gutter displacement: Pulled-away gutters could signal ice dams or wind damage
The condition of the ground and siding can offer helpful clues about where to look for damage on the roof itself.
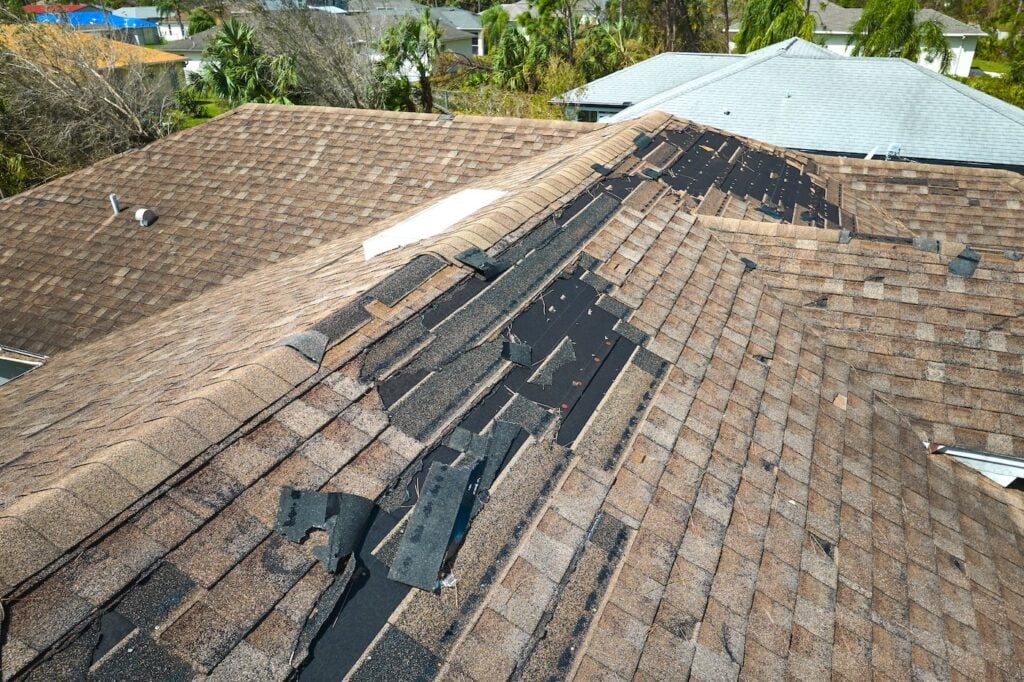
2. Check the Roof Surface for Missing or Loose Shingles
Once on the roof, the inspector will examine the surface for obvious signs of damage. This step is critical after storms with high wind gusts or straight-line winds.
- Missing shingles: Often the first indicator of wind damage
- Lifted or curled shingles: May not be sealed properly and can allow moisture underneath
- Dislodged ridge caps: Common failure points during strong gusts
- Shingle displacement patterns: Help identify the direction and strength of the wind
Even small sections of missing shingles can compromise the water-tightness of the roofing system.
3. Evaluate Granule Loss and Surface Wear
Hail or wind-driven rain can strip protective granules off asphalt shingles. While this may not cause an immediate leak, it reduces the lifespan of the shingle and opens the door to further damage.
- Bald spots: Expose the asphalt layer underneath
- Inconsistent color patches: Indicate where granules have been worn away
- Granules in gutters: Confirm the impact of rain or hail from recent storms
- Surface cracking: Often accompanies granule loss and speeds up deterioration
This kind of wear may not show up for weeks unless you’re actively looking for it during a storm damage roof inspection.
4. Examine Flashing Around Roof Penetrations
Flashing is a common weak point during storms. These thin metal strips seal the joints between roofing surfaces and protrusions such as vents, chimneys, and skylights.
- Lifted flashing: Can create gaps where water seeps in
- Corrosion or dents: May result from hail or flying debris
- Missing sealant: Indicates wear or improper installation
- Dislodged boot collars: Can expose pipe vents to water infiltration
Proper flashing is essential to prevent leaks in high-risk areas of the roof.
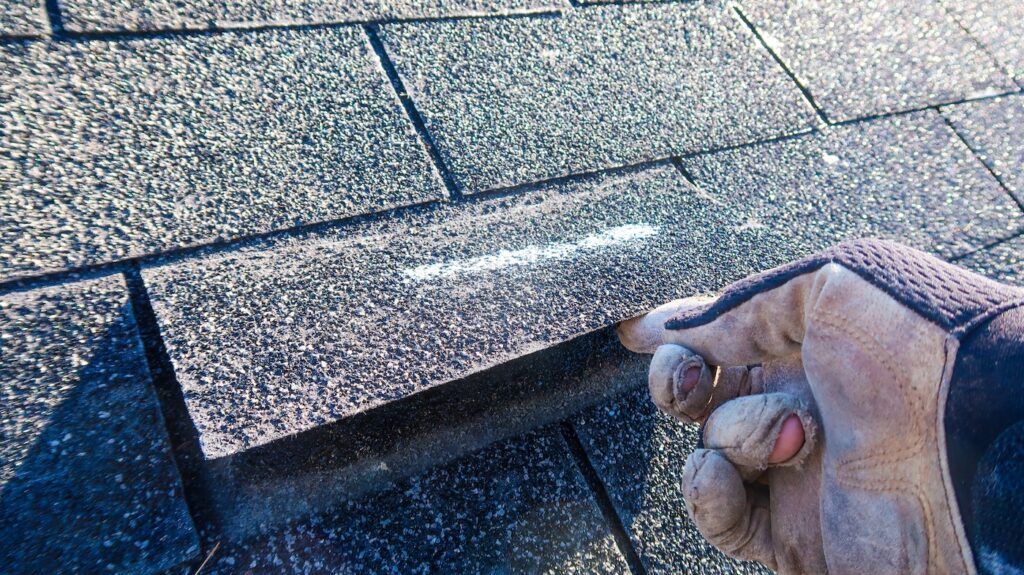
5. Check for Hail Dents and Impact Marks
Hail strikes can create soft spots or divots in the roofing material that weaken it over time. While some of this damage is visible, a trained inspector will look closer.
- Dents on shingles or metal: Indicate potential points of failure
- Bruising on asphalt shingles: Felt by touch more than seen
- Damaged vents or skylight covers: Show direct hail impacts
- Marked areas: Often photographed or chalked for insurance documentation
The inspector may mark each strike to show the pattern and severity of hail damage.
6. Inspect Gutters and Downspouts
Gutters are not only important for water drainage, they also provide evidence of roof condition. During storms, debris and water can clog or damage them.
- Loose gutters: May have pulled away due to wind or ice
- Bending or denting: Suggests hail or heavy debris impact
- Overflow signs: Stains or streaks on siding could indicate past blockages
- Roof runoff patterns: Help assess whether water is flowing correctly
A full gutter inspection ensures the entire drainage system is still working properly after a storm.
7. Check Attic and Interior for Leaks
An inspection isn’t complete without looking inside the attic or ceiling for moisture intrusion. Water can travel along beams and surfaces before showing up in visible areas.
- Water stains on rafters or insulation: Early sign of active leaks
- Soft or discolored ceilings: Indicates prolonged moisture exposure
- Musty smell: Points to trapped moisture or mold growth
- Daylight through the roof deck: Obvious holes or gaps in structure
This step helps confirm whether storm damage has penetrated the roofing envelope.
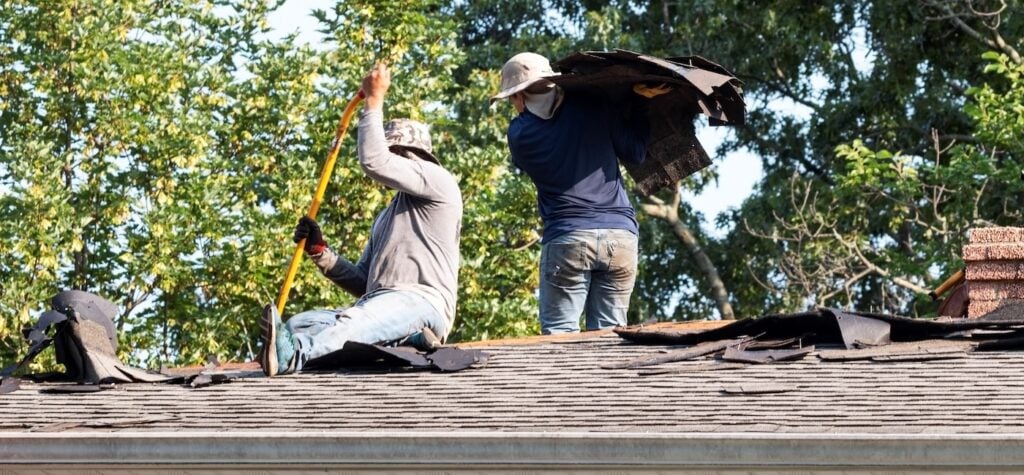
8. Document and Report All Findings
Finally, a professional roofer will provide a detailed report of their inspection. This includes photos, written notes, and recommendations for repair or replacement.
- Photo documentation: Supports insurance claims and long-term planning
- Damage summary: Clearly outlines the issues found
- Suggested next steps: May include immediate repairs or full replacement
- Repair estimate: Provided for homeowner or insurance company use
This report ensures you have a clear understanding of your roof’s condition after the storm and what actions to take next.
Get Peace of Mind With a Professional Inspection
Storms can wreak havoc on your roof, even if you don’t notice the damage right away. A storm damage roof inspection provides the peace of mind that your home is safe, secure, and protected from further problems. It also gives you the documentation you need to file an insurance claim or schedule repairs without delay.
Even better, most roof inspections are free when performed by an experienced roofing company that specializes in storm damage.
Schedule Your Storm Damage Roof Inspection Today
If your home has recently been through a storm, don’t wait to find out if your roof was damaged. A professional storm damage roof inspection can help you catch problems early and avoid costly repairs down the line.
Contact Shake Guys today to schedule your free roof inspection. Our team will walk you through every step of the process and make sure your roof is ready to protect your home through the next storm and beyond.


Schedule a Free Inspection & Consultation
We look forward to providing you with premium customer service & high-quality results.